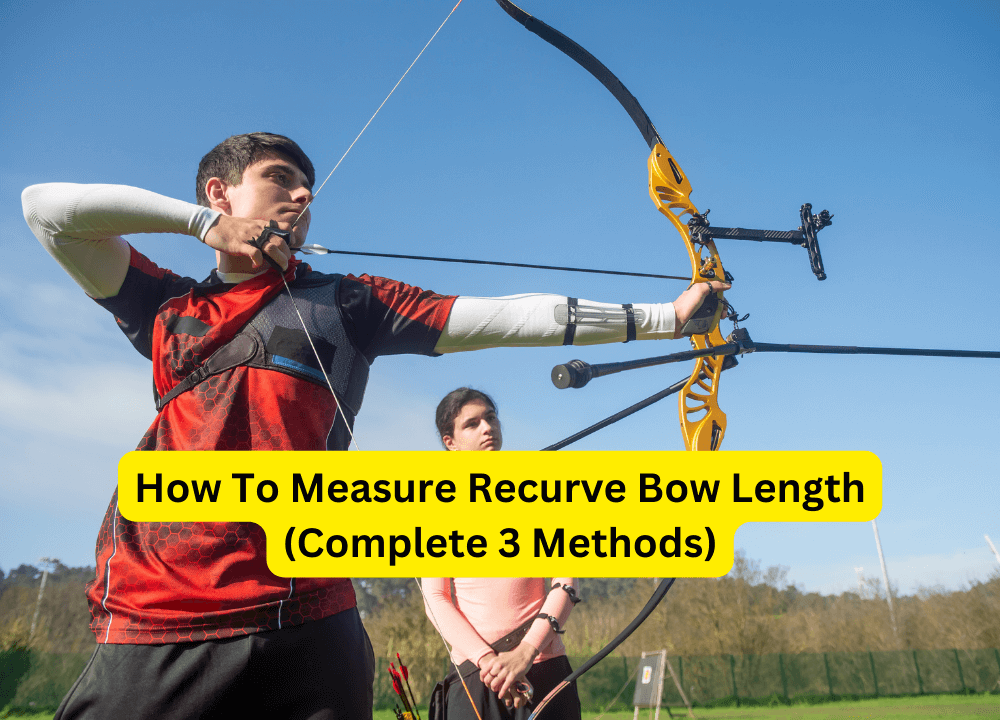
A recurve bow is a popular choice for both beginners and experienced archers due to its unique shape and performance capabilities. Setting up a recurve bow can be a straightforward process if you follow the steps below. By having a properly set-up bow, you can maximise accuracy, consistency, and enjoyment while shooting. If you are interested in recurve bow then you should know its basics. We will explain the knowledge of the bow and the techniques for its setup.
How to SetUp a Recurve Bow?
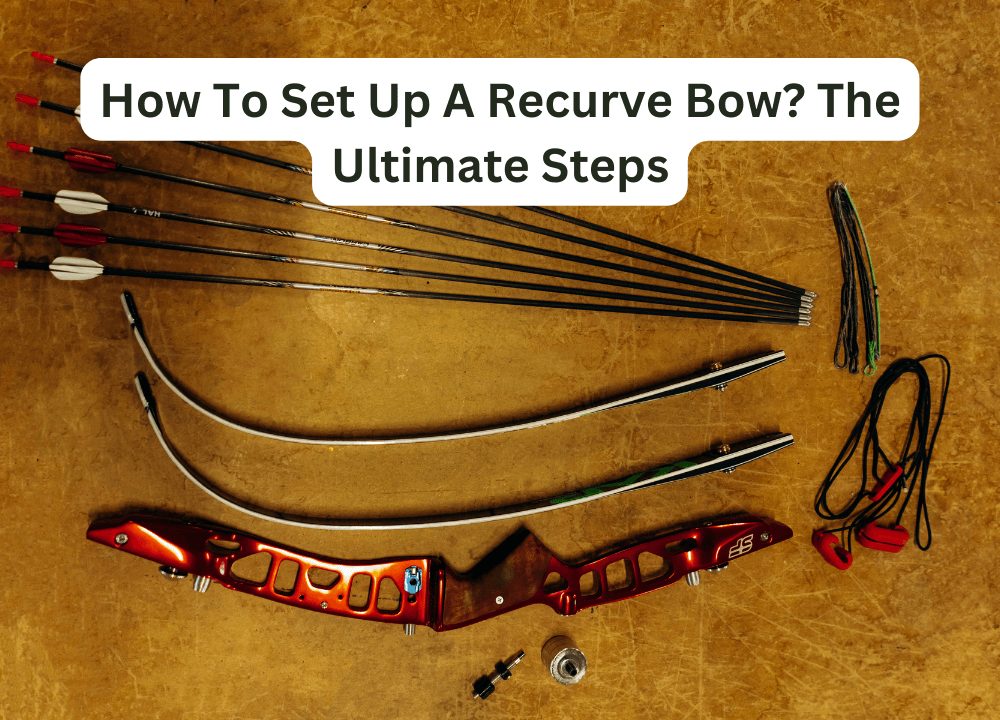
Gather necessary equipment and tools
Before starting the setup process, make sure you have the following items on hand:
- Recurve bow (riser, limbs, bowstring)
- Bowstring serving kit (if not preserved)
- Bow square (for measuring brace height)
- Nocking points
- Bowstring wax
- Bowstring silencers (optional)
- Armguard
- Finger tab or release aid
- Bow sling
- Sight or aiming device (if desired)
- Bow rest and plunger (if not integrated)
- Arrow rest
- Bowstring or limb dampeners (optional)
Assemble the bow
Start by connecting the limbs to the riser. Each limb should be labeled with a top and bottom. Make sure the limb tips curve away from the archer when the bow is strung – this is the distinctive feature of the recurve bow. Attach the limbs following the manufacturer’s recommendations. This can involve screws or a slide-and-lock system.
String the bow
The next step is stringing the bow. Ensure that the loops of the bowstring align with the limb grooves. It’s recommended to use a bow stringer to avoid twisting the limbs or injury. Place the larger loop over the top limb, slide the smaller loop onto the bottom limb, and use the bow stringer to apply tension. Align the string in the limb grooves. Release the tension slowly and remove the bowstring.
Set brace height
The brace height is the distance between the bowstring and the deepest part of the bow grip. This measurement affects the bow’s performance and noise level. Using a bow square, measure the brace height and compare it to the manufacturer’s recommendation. Adjust the brace height by twisting or untwisting the bowstring if needed.
Install nocking points
A nocking point helps to consistently position the arrow on the bowstring. Using a bow square, measure the appropriate nocking point height above the arrow rest. This is typically 1/8 to 1/4 inch above the arrow rest, depending on the arrow spine, the archer’s form, and the specific bow being used. Attach the nocking points to the desired location using nocking pliers.
Additionally, some shooters knot their nocking pins with ribbon or string. When binding, pass the fiber or floss over a kind of adhesive. Alternate between tying a knot on both ends of a rope till you determine that it is big enough. To dissolve the adhesive and extend the life of the shooting point, sing both ends with an open flame or spark.
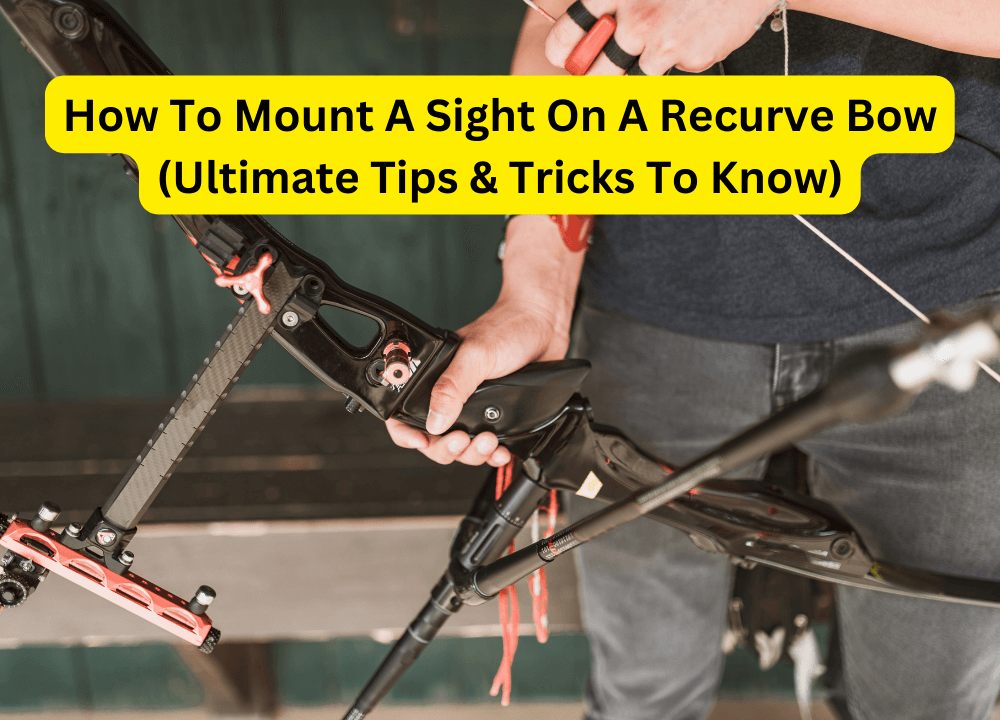
Attach arrow rest and other accessories
Now, attach an arrow rest to your riser. The type of arrow rest depends on personal preference and shooting style. Attach other desired accessories like a sight or a stabilizer using the pre-drilled holes on the riser.
Sight-in the bow
It’s important to sight in the bow after all the accessories are attached. To do this, stand at a predetermined distance (usually 20 yards) and aim at a target. Shoot several arrows while focusing on maintaining consistent form. Adjust the sight pins based on the arrows’ impact points until you’re consistently hitting near the target center. Repeat this process at different distances if desired.
Maintain you are recurving bow
Proper maintenance can extend the life and performance of your recurve bow. Apply bowstring wax to protect and preserve the fibers. Always unstring the bow when not in use for an extended period. Inspect the riser, limbs, and bowstring frequently for damage.
Examine the handle on your bow.
Look at the lever on your bow. This is the difference that exists between the string’s gap with the top limb difference concerning the string’s gap and the lower limb’s difference. Recurves are designed to be fired using an upside-down tiller, indicating that the distance between the bottom limb and the string should be 14 to 18 inches smaller than the other one. As a result, the bottom limb must weigh more than the upper limb.
Set the length of your splint.
The majority of supplier’s advice braces heights between 7 inches and 9.5 inches. By inserting (increases brace height) or removing (decreases brace height) bends to your rope, you can adjust the overall height of your splint. Where the bow is quietest and causes the least vibration is where you should brace yourself.
Centre Shot
The meaning of “center shot” describes an arrow that is resting in the middle of the bow, strung upwards, and resting on the arrow’s stop.
You want the arrow to move ahead and straight towards the target when you shoot. To do this, the arrow is originally lined up with the point of the arrow somewhat away from the center shot rather than in the middle of the target.
Clicker
- Consistent firing requires the use of a clicker, which is utilized as a trigger to unlock the gun when it clicks. To control both the shot and the clicker, you have to learn a shooting technique.
- All arrows should be trimmed to precisely the identical length if you want to use a button.
- The release should be unanticipated, as there shouldn’t be any intentional preparation involved in carrying it out.
- The clicker marks the release, eliminating the requirement for thinking about realizing the pointed object.
- A button that clicks is used by drawing a point from underneath it. There should be anywhere from one to two millimeters of arrow point under the clicker when the draw is fully drawn.
- When you shoot, the arrow initially presses against the side of the bow as it moves ahead and begins to advance.
Conclusion
By following these steps, you can effectively and efficiently set up a recurve bow and maximise its potential. As you practise, you may need to fine-tune certain aspects such as brace height and nocking point to best suit your shooting style. Before starting you should know all the steps of setup to enjoy the shooting.